CalDAV - Calendaring Extension
Note: Before you start, make sure you have set up the integration. If you haven't done that yet, please refer to the DAV Integration for EspoCRM documentation.
Important
Always use the full path in your CalDAV client: https://example.com/dav/server.php
Setting-up for users
After administrator has set up DAV integration, users can enable it for their accounts.
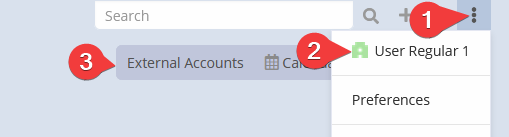
Go to your user profile detail view and click the External Accounts button.
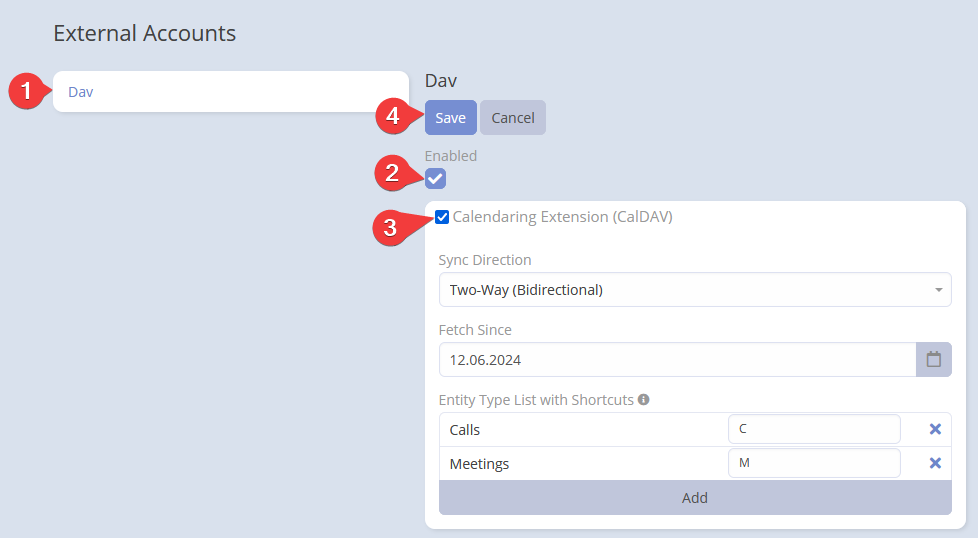
Click Dav on the left panel. Then, check the Enable button and select Calendaring Extension (CalDAV). Finally, click Save.
Parameters
- Sync Direction: Choose between One-Way to EspoCRM, One-Way to CalDAV Client, or Two-Way (Bidirectional) synchronization.
- Fetch Since: The start date for fetching events.
- Entity Type List with Shortcuts: List of CalDAV entity types, defaulting to Calls, Meetings, and Tasks. The first entity or one with a blank shortcut is the default for new events. Use drag-and-drop to reorder.
Tip
You can use any Event type entity in CalDAV, including custom ones. For details on creating custom entities, see the official documentation.